To dial in ECM Synchronika steam pressure for oat milk microfoam, set the steam boiler pressure between 1.0 and 1.2 bar (measured at the manometer when idle), use a 4-hole or 6-hole tip, and start with cold barista-grade oat milk straight from the fridge. The Synchronika ships from the factory at roughly 1.3-1.4 bar, which is excellent for whole milk but tends to blow oat milk apart before its proteins and stabilizers can build a tight, paint-like microfoam. A small downward adjustment of the pressurestat, paired with a slightly longer aeration phase, transforms oat milk from airy and bubbly to glossy and pourable.
This guide walks through the exact pressurestat adjustment, the right tip choice, milk temperature targets, and the stretch-and-roll technique that gives you latte-art-ready oat microfoam every morning. If you are still shopping or considering a stepping-stone machine before upgrading to the Synchronika, a few solid alternatives are included near the bottom.
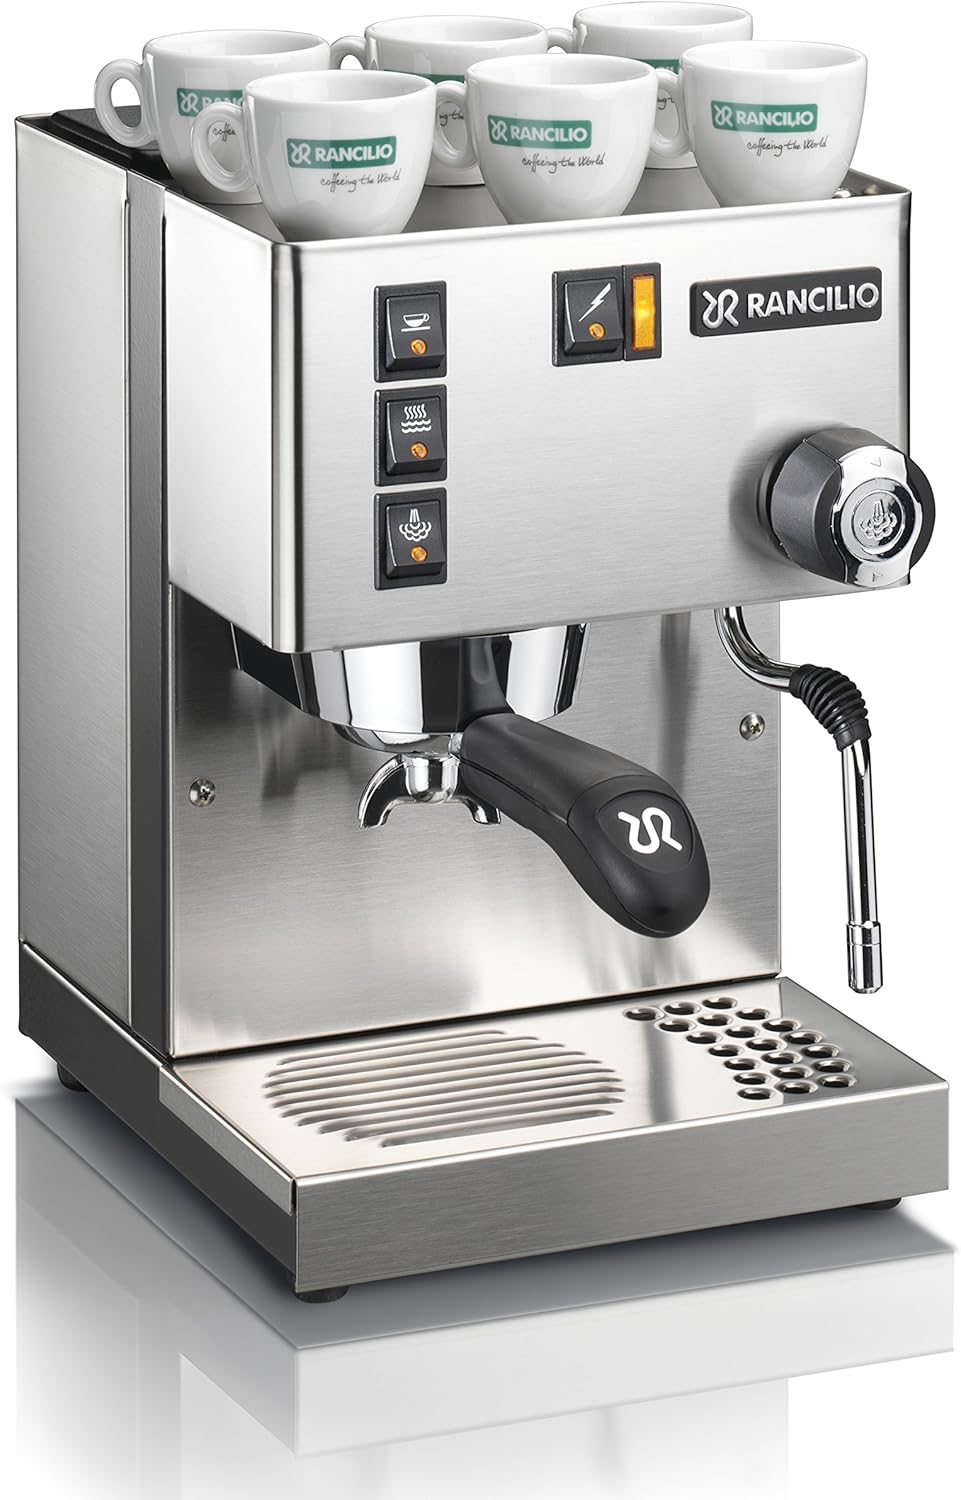
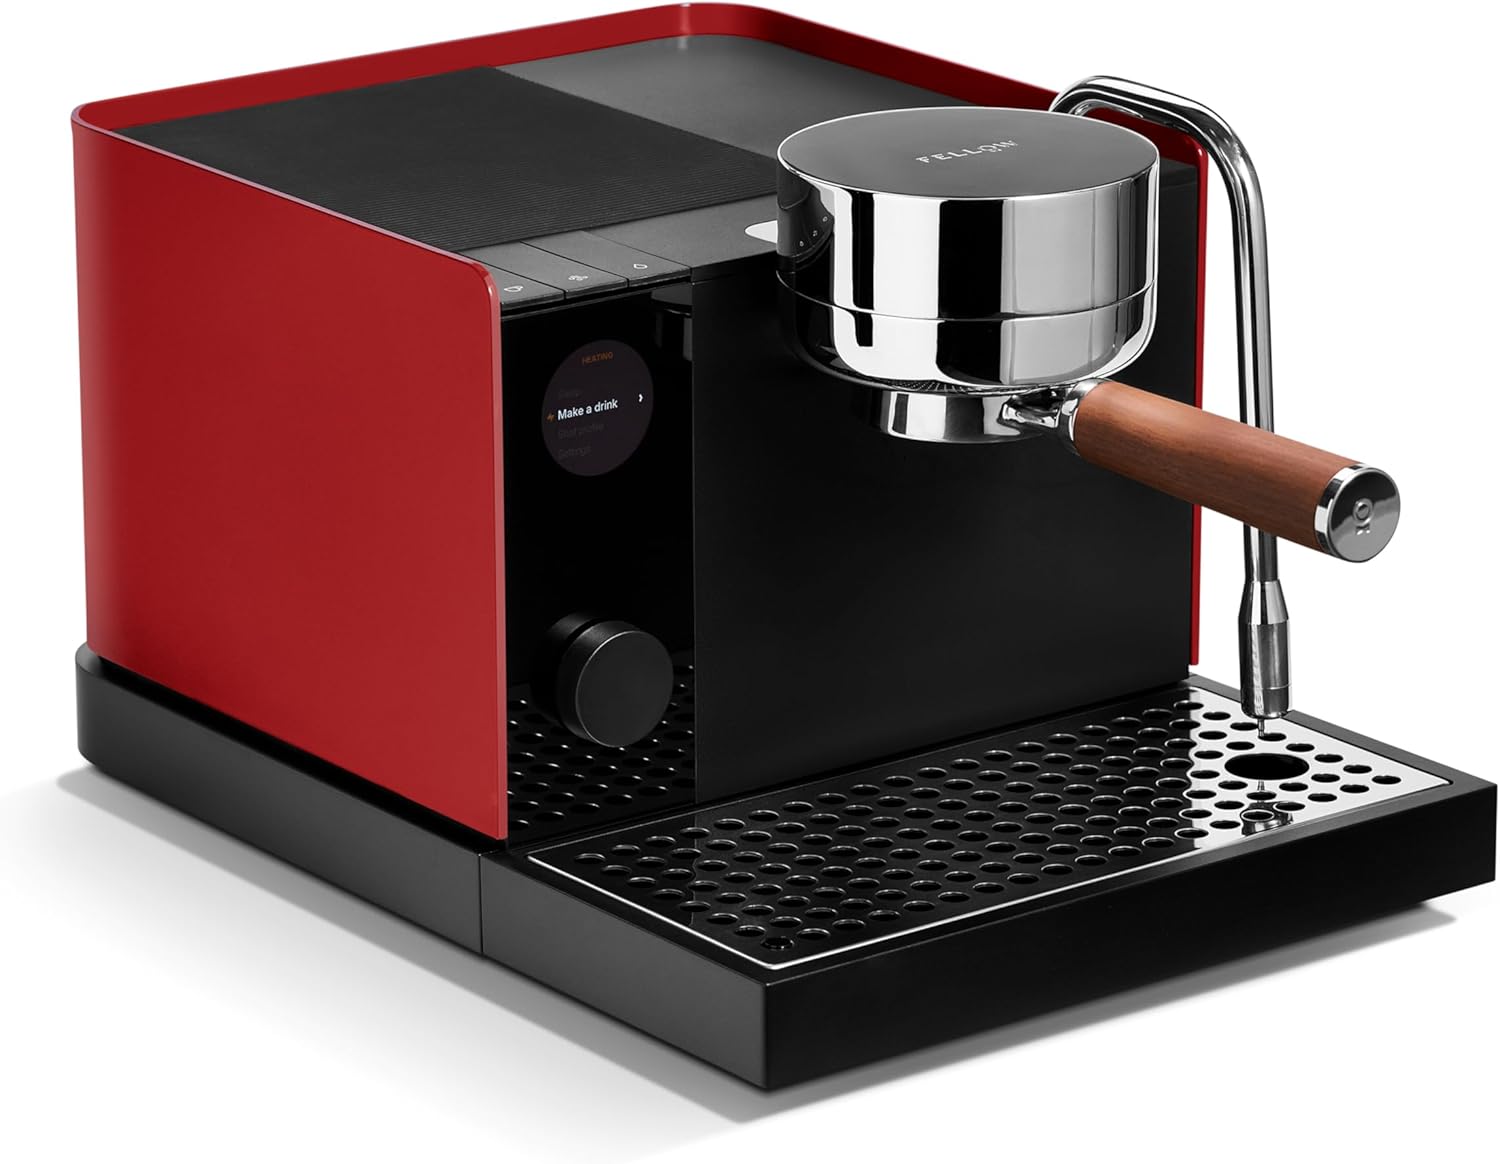
When shopping for ECM Synchronika steam pressure for oat milk microfoam, it pays to compare specs, capacity, and real-world runtime before committing.
Why oat milk behaves differently under steam
Dairy milk foams because casein and whey proteins wrap around air bubbles and stabilize them. Oat milk has no casein. Instead, barista-formulated oat milks rely on a blend of oat proteins, dipotassium phosphate, rapeseed or sunflower oil, and sometimes acidity regulators to mimic that structure. These stabilizers are sensitive to two things: heat shock and brute-force air injection. When your Synchronika is humming along at its factory 1.3-1.4 bar setting, the steam exits the tip fast and hot enough to push oat milk past 65 C in under 10 seconds, denaturing the very proteins you need.
Lowering the steam boiler pressure slows the airflow, giving the oat emulsion time to incorporate microscopic bubbles instead of macroscopic ones. That is the entire reason commercial baristas at high-volume specialty cafes often run their E61 dual-boilers at around 1.0 bar when the menu is oat-heavy.
The correct ECM Synchronika steam pressure for oat milk microfoam
Aim for a steam boiler pressure of 1.0 to 1.2 bar. Here is the breakdown:
- 1.0 bar — best for thicker oat milks (Oatly Barista Edition, Minor Figures, Pacific Barista). Slightly slower stretch, very forgiving, easy to keep texture tight.
- 1.1 bar — the sweet spot for most home setups. Fast enough to finish a 12 oz pitcher in 18-22 seconds, gentle enough not to shred the emulsion.
- 1.2 bar — for thinner oat blends or if you are pulling back-to-back drinks and need throughput. Requires a steadier hand to avoid large bubbles.
Above 1.3 bar you will fight surface bubbles all morning. Below 0.9 bar the milk will not reach a proper 60-65 C serving temperature before the texture collapses.
How to adjust the pressurestat on the Synchronika
The Synchronika uses a mechanical Mater pressurestat located inside the case, mounted on the steam boiler. To access it:
- Power down the machine and let both boilers cool completely. Do not skip this — the steam boiler holds pressurized water above 120 C.
- Remove the four 2.5 mm hex screws holding the top cup tray. Lift it off.
- You will see a black plastic pressurestat with a brass adjustment screw on top, slightly forward of center.
- Using a flat-head screwdriver, turn the screw clockwise to decrease pressure and counter-clockwise to increase. Each quarter turn is roughly 0.1 bar.
- Refit the top, power back up, let the machine reach steady state for 15 minutes, then read the steam manometer with the steam valve closed. Re-adjust as needed.
Always make small, incremental quarter-turn adjustments and let the boiler stabilize before reading the gauge. ECM specifically warns against adjusting under pressure.
Tip selection: the second variable nobody talks about
The Synchronika ships with a 4-hole, 1.2 mm tip on the no-burn steam wand. That is well-matched to whole milk at 1.3 bar. When you drop pressure to 1.1 bar for oat, the 4-hole tip becomes a touch slow, and you may have to introduce air for an uncomfortably long time before the stretch is complete.
Two upgrades work well:
- 2-hole tip — narrower, faster jet. Great for 6 oz cappuccino pitchers and single drinks. Very tight, dense foam.
- 6-hole tip — wider, gentler. Better for larger 20 oz pitchers and when you are pulling two lattes back-to-back. Pairs perfectly with 1.0-1.1 bar.
For oat milk specifically, the 6-hole tip at 1.1 bar is hard to beat. ECM sells both as direct replacements and they thread on in under a minute.
Step-by-step: pulling perfect oat microfoam
- Start cold. Pour oat milk straight from the fridge — ideally 4 C. A cold start gives you a wider stretching window.
- Pitcher size. Fill a 12 oz pitcher to just below the bottom of the spout (about 5 oz of milk). Oat milk expands less than dairy, so you can fill slightly higher than you would with whole.
- Purge the wand. Two seconds of steam, dump the condensate.
- Angle and depth. Submerge the tip about 1 cm below the surface, angled to create a clockwise vortex.
- Stretch. Open the steam valve fully. You should hear a soft \"paper-tearing\" hiss, not a screech. Stretch until the milk reaches roughly 35 C (the pitcher should still feel cool).
- Submerge and roll. Drop the tip another centimeter to kill the hiss and emulsify. Roll until the pitcher is uncomfortable to hold (around 60-63 C for oat — slightly lower than dairy).
- Close, tap, swirl. Tap the pitcher twice to pop surface bubbles, swirl until it looks like wet paint.
- Pour within 10 seconds. Oat microfoam separates faster than dairy. Pour immediately for the best art.
If you see large \"crocodile-eye\" bubbles, you stretched too long or your pressure is too high. If the foam is thin and watery, you did not stretch long enough or the milk got too hot before you finished aerating.
Best oat milks for the Synchronika at 1.1 bar
Not all oat milks foam equally. After testing with the Synchronika at 1.1 bar and a 6-hole tip:
- Oatly Barista Edition — gold standard. Tight, glossy, pours pencil-thin lines.
- Minor Figures Barista — slightly thinner mouthfeel, excellent latte art definition.
- Pacific Barista Series — sweetest profile, slightly heavier foam, beginner-friendly.
- Califia Farms Barista Blend — neutral flavor, holds texture longer in the pitcher.
Avoid regular (non-barista) oat milks — they lack the stabilizer package and will foam thin no matter how perfectly you set the pressure.
If you are still working your way up to a Synchronika
The ECM Synchronika is a $3,400 dual-boiler. Many home baristas who want excellent oat milk microfoam start on a smaller dual-boiler or heat-exchanger machine and upgrade later. Here are honest stepping-stone options that can produce respectable oat microfoam today.
Comparison: alternative machines for oat milk microfoam
| Machine | Steam System | Pressure Adjustable | Oat Milk Capability |
|---|---|---|---|
| Breville Barista Express BES870XL | Thermocoil, single boiler | No (fixed) | Good with practice |
| Ninja Luxe Cafe Premier 3-in-1 | Auto-frother + manual wand | Preset modes | Very good in auto mode |
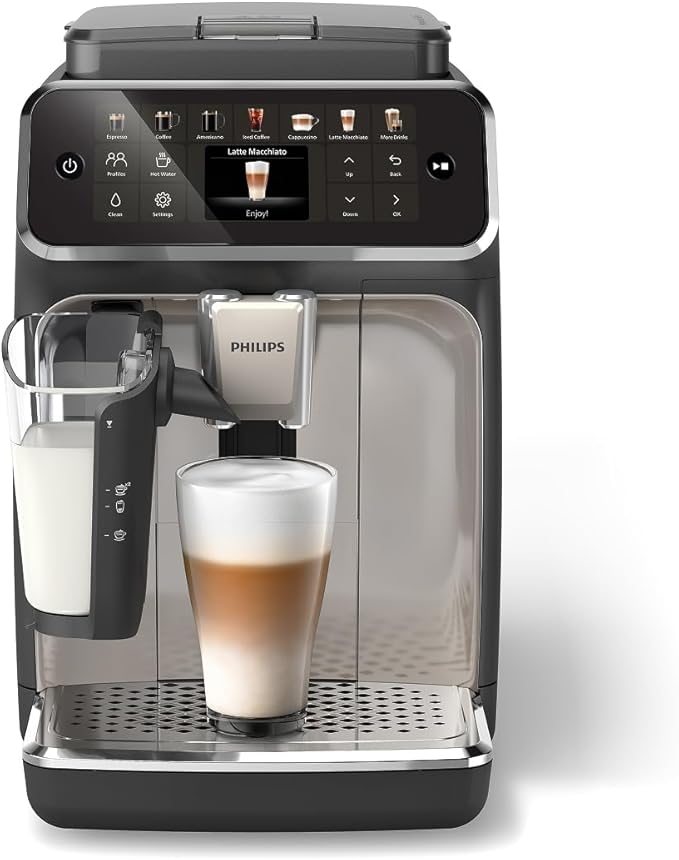
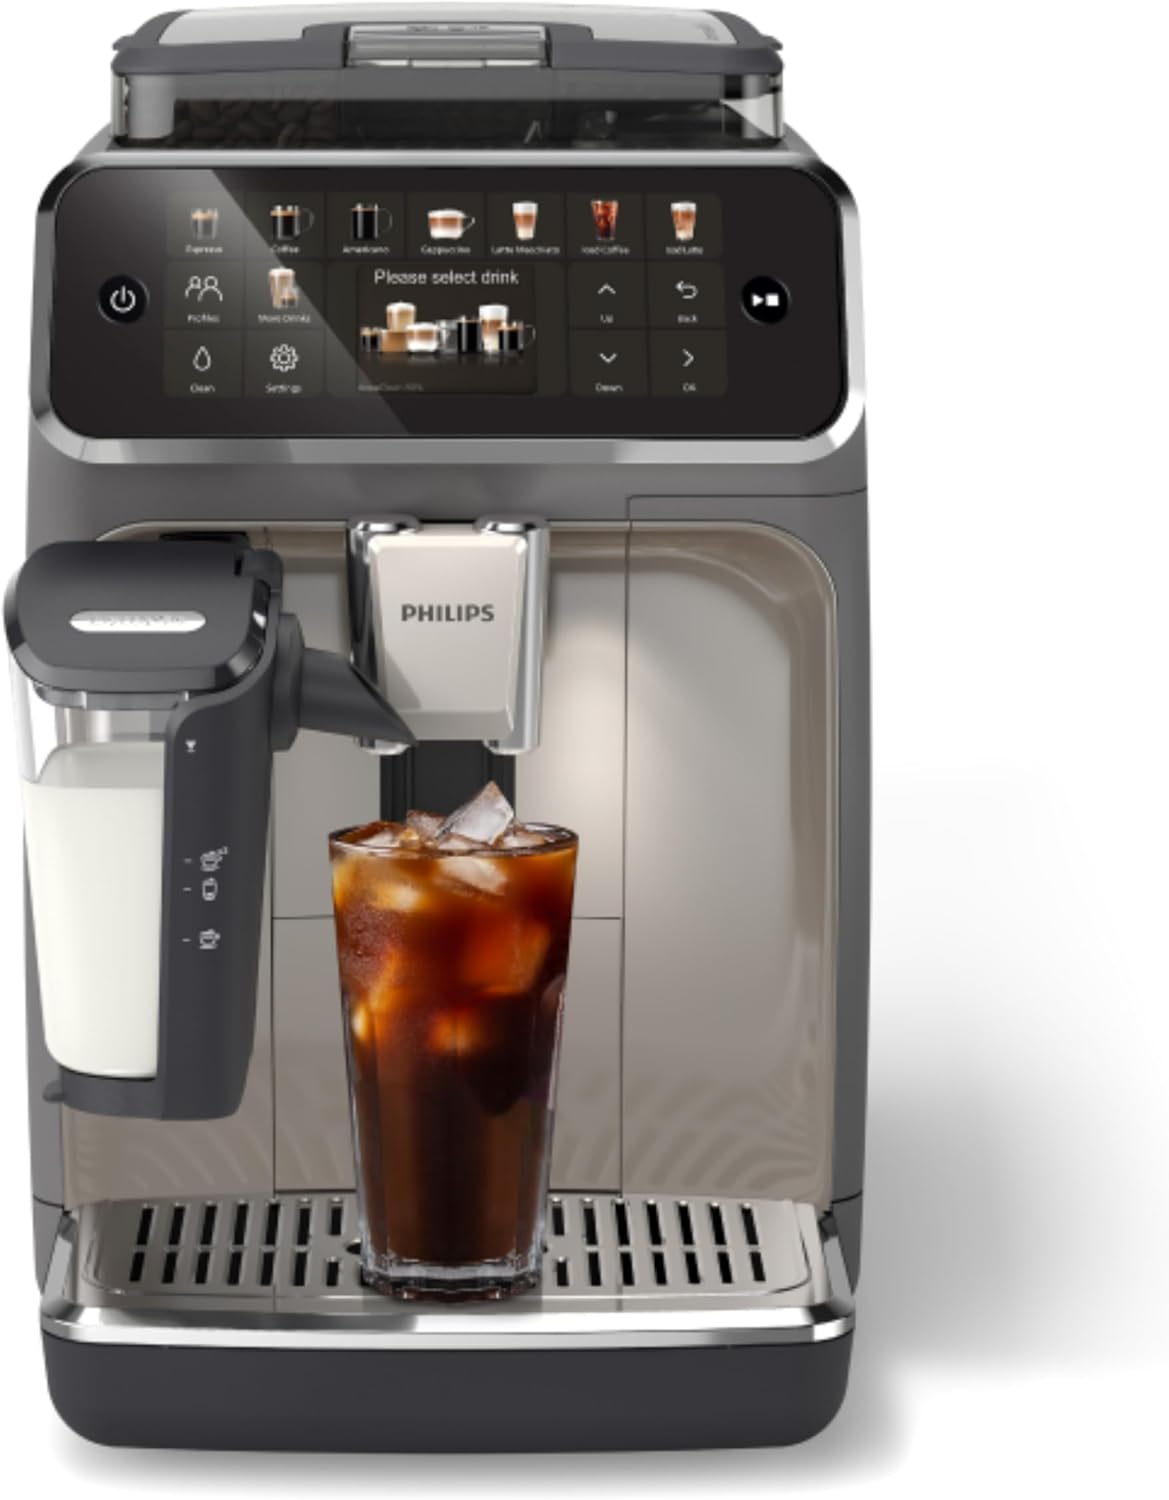
| Philips 4400 Series | LatteGo auto-frother | No (preset) | Convenient, less control |
| ECM Synchronika | Dual boiler, E61 | Yes (1.0-1.4 bar) | Excellent, full manual |
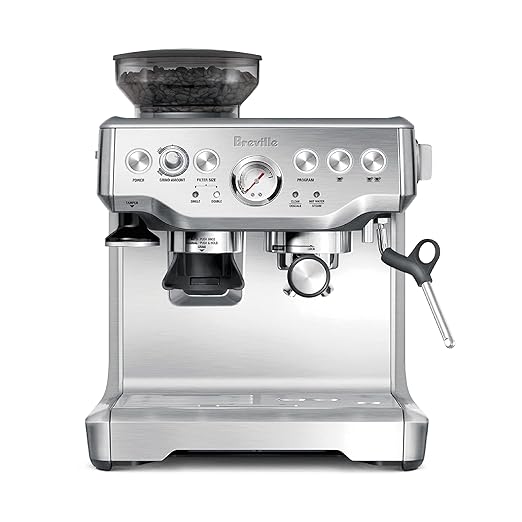
Breville Barista Express BES870XL
The Barista Express is the most popular all-in-one for a reason: built-in grinder, decent steam wand, and a price point that makes it accessible. Its steam pressure is not user-adjustable, but the wand runs at a relatively gentle output that actually pairs well with oat milk — you just need to commit to the technique. It is the machine most home baristas master before stepping up to the Synchronika. Check the Breville Barista Express on Amazon.
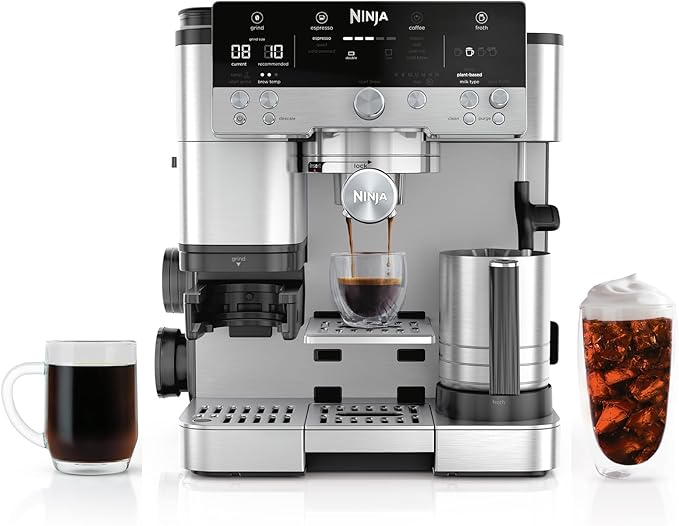
Ninja Luxe Cafe Premier 3-in-1
The Luxe Cafe is the new entrant that takes oat milk seriously: it ships with a dedicated oat-milk frothing preset that automatically pulls back temperature and aeration time. The manual wand is also surprisingly capable. If you want oat microfoam without learning pressurestat adjustments, this is the most foolproof option in 2026. See the Ninja Luxe Cafe Premier on Amazon.
Philips 4400 Series
For households where convenience matters more than latte art, the Philips 4400 LatteGo system handles oat milk competently in a fully automatic workflow. The microfoam will not be art-grade, but it is consistent and silky enough for daily lattes. Good fit if the Synchronika is a future-you purchase. View the Philips 4400 Series on Amazon.
Maintenance: keep your pressure stable
A Synchronika dialed to 1.1 bar will drift over time if you neglect descaling. Limescale on the pressurestat probe causes false readings, and a scaled steam boiler element can no longer maintain even output. Run the ECM descaling routine every 3-4 months on softened water, every 6-8 weeks if you are on hard tap. Also check the steam wand tip weekly — oat milk residue cakes inside the holes faster than dairy and will choke airflow long before you notice it visually.
For more on dialing in espresso alongside your steam game, see our guides on best grinders for the ECM Synchronika, E61 flow control for oat milk lattes, and descaling ECM machines safely.
Frequently Asked Questions
What is the factory steam pressure on the ECM Synchronika?
The Synchronika ships from the ECM factory at approximately 1.3-1.4 bar steam boiler pressure, optimized for whole dairy milk. This is too aggressive for most barista-grade oat milks, which is why a small downward adjustment to 1.0-1.2 bar is recommended when oat lattes dominate your menu.
Will lowering steam pressure hurt my whole milk microfoam?
No, but it will slow you down slightly. At 1.1 bar, whole milk still foams beautifully — it just takes 3-5 extra seconds per pitcher. Many home baristas find 1.1 bar a perfect compromise for households that drink both dairy and oat lattes.
Should I use a 2-hole, 4-hole, or 6-hole steam tip for oat milk?
For oat milk at 1.0-1.2 bar, the 6-hole tip is the best match for 12-20 oz pitchers because it delivers gentler airflow over a wider area. The 2-hole tip is excellent for single cappuccinos in a 6 oz pitcher. The stock 4-hole tip works fine but feels slow at lower pressures.
What temperature should oat milk reach for microfoam?
Target 60-63 C for oat milk, slightly cooler than the 65 C you would use for dairy. Oat milk stabilizers break down faster than casein, and overheated oat milk tastes cardboardy and separates in the cup within a minute.
Can I steam oat milk without adjusting the Synchronika pressurestat?
Yes — many people get great results at factory pressure by switching to a 6-hole tip, using a larger pitcher, and starting with very cold milk. But if oat is 80%+ of your usage, a permanent pressurestat adjustment to 1.1 bar is the cleaner solution.
Why does my oat milk foam look thin and watery?
Three usual suspects: you are using non-barista oat milk (no stabilizer package), you stopped stretching too early (less than 8 seconds of air introduction), or your milk got past 50 C before you finished aerating. Start colder and stretch a touch longer.
How often should I service the Synchronika pressurestat?
The Mater pressurestat itself is essentially maintenance-free for 5+ years on softened water. But verify the steam pressure reading against the manometer every 6 months and re-dial if it has drifted more than 0.1 bar. Replace the pressurestat entirely if it starts cycling more than every 90 seconds at idle — that indicates contact wear.
Key Takeaways
- Choosing the right ECM Synchronika steam pressure for oat milk microfoam means matching capacity and output ports to your actual devices
- Always check actual watt-hours (Wh), not just watts — runtime depends on Wh, not peak output
- Also covers: Synchronika steam boiler pressure oat milk
- Also covers: ECM Synchronika pressurestat adjustment
- Also covers: Synchronika steam tip size oat barista
- Compare price-per-Wh across models to find the best value for your budget