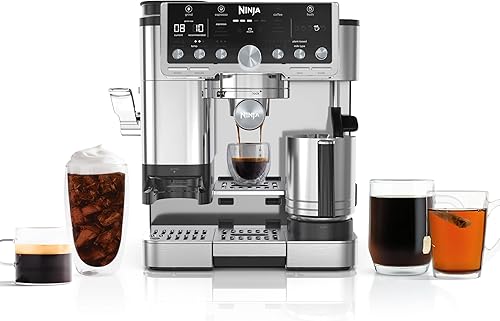
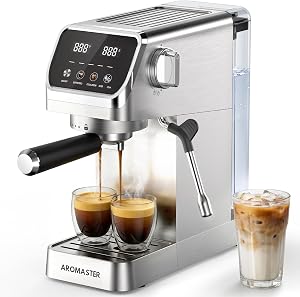
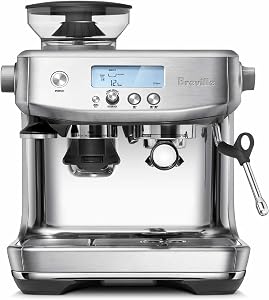
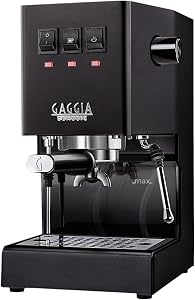
Top Picks


The 30-Second Answer (Because You're Probably Mid-Shot)
> The Fast Track: Pull a 1:2 ratio shot (18g in, 36g out) and time it. > - Faster than 25 seconds? Grind finer. > - Slower than 32 seconds? Grind coarser. > - Always adjust one notch at a time, purge 3-5g of grounds between changes, and re-pull.
That's the cheat sheet. But after six years of pulling shots daily and burning through roughly 80 pounds of beans last year alone testing grinders, I can promise you: the nuance is where most home baristas get stuck.
Let me walk you through what actually works, the way I wish someone had walked me through it back when I was dumping shot after shot down the sink.
Featured recommendations from our review database — direct Amazon links below.

The Problem: Why Your Shots Are Gushing (or Choking the Machine to Death)
Here's the thing most beginners miss, and it's a humbling one:
> Your grinder is doing 80% of the work. Not your espresso machine.
I learned this the hard way when I upgraded from a $99 blade grinder to a proper burr grinder back in 2026. Same beans. Same machine. Completely different shot. Night and day. It felt like cheating.
What's Actually Happening in That Puck
When your grind is too coarse: Water rushes through the puck in 12-15 seconds like it's late for work, pulling out the bright, sour acids without ever extracting the sugars. The result? A shot that tastes like sucking on a lemon rind.
When your grind is too fine: You get a slow, bitter drip that tastes like burnt grapefruit chewing on aspirin. The water is over-extracted, dragging out every harsh, astringent compound the bean has to offer.
Dialing in means finding the narrow sweet spot for your specific beans, on your specific day, in your specific kitchen humidity.
> Yes, humidity matters. I noticed a clear shift last August when my kitchen hit 78% humidity. My shots started running 4 seconds slower without me changing a single thing. The beans were absorbing moisture from the air.
Watch It Happen: A Visual Crash Course
Before we dive deeper, here's a fantastic visual walkthrough that pairs perfectly with everything below. Watching someone dial in live makes this click way faster than reading alone.
Quick Picks: The Best Grinders for Dialing In Espresso
| Grinder | Settings | Best For | Price |
|---|---|---|---|
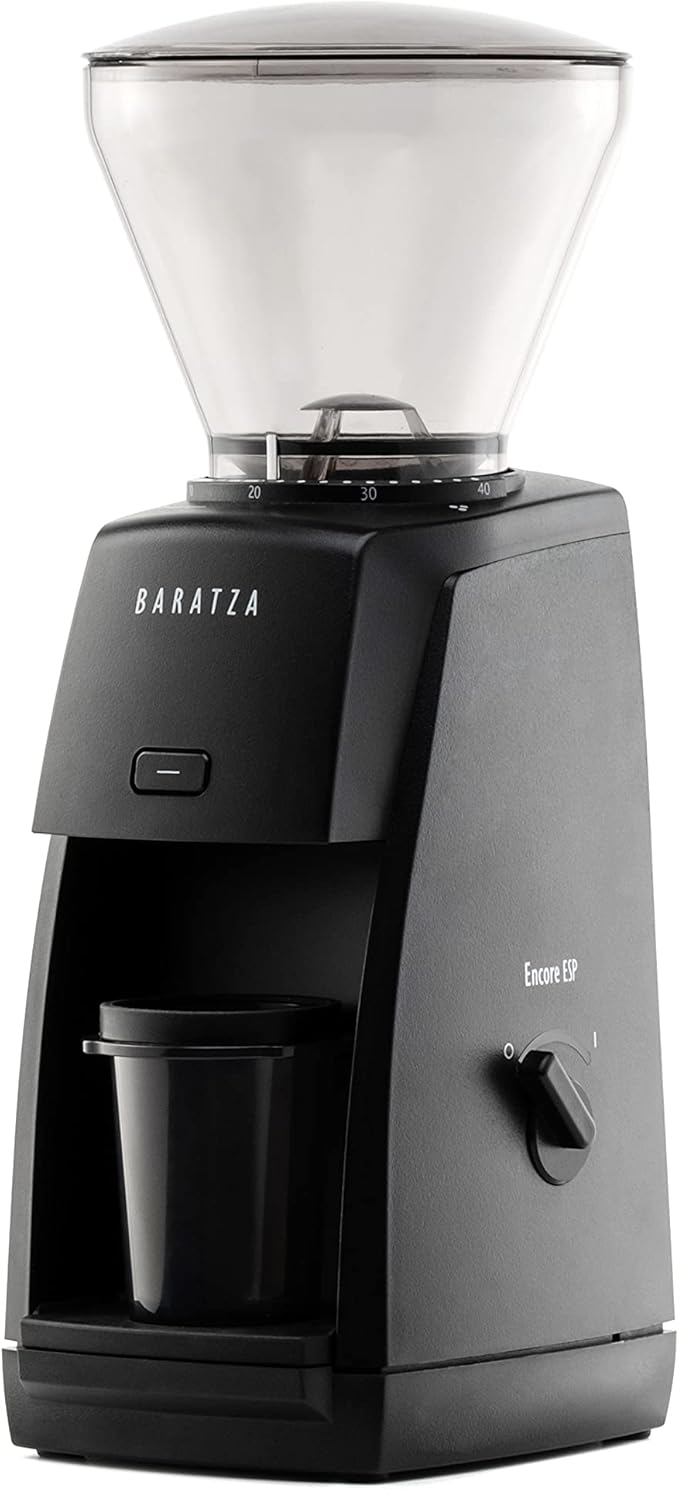
| Breville Smart Grinder Pro | 60 stepped | Home espresso precision | $199.95 |
| .95 | |||
| .00 |
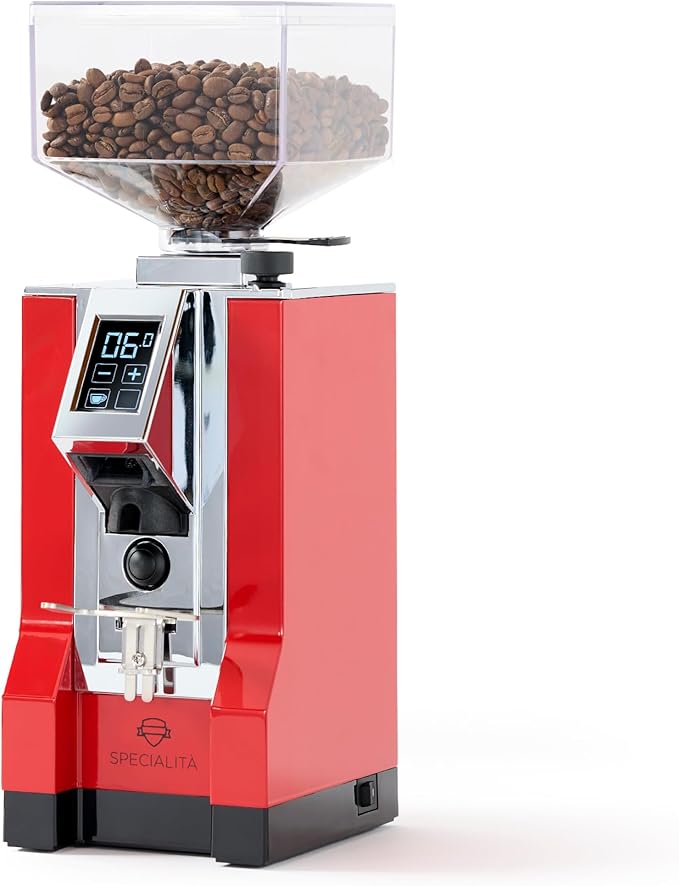
> My honest take: If you're serious about espresso and have a budget, the Virtuoso+ is the one I'd recommend to a friend. The Breville Smart Grinder Pro is the best bang-for-buck. The .
The Step-by-Step Playbook: How to Dial In Like a Pro
Step 1: Lock Your Variables First (Non-Negotiable)
Before you touch the grinder, fix everything else. This is the step 90% of frustrated home baristas skip, and it's why they chase their tails for weeks.
Here's my pre-shot ritual, every single time:
- Dose: Weighed to 18.0g (±0.1g) on a 0.1g scale
- Basket: Same one, every time (mine's an 18g VST)
- Tamp: ~15 lbs of pressure (calibrated once on a bathroom scale, lifesaver)
- Portafilter: Pre-heated for at least 30 seconds
Step 2: Pick Your Target Ratio
For a standard double shot, aim for a 1:2 brew ratio:
> 18g of dry coffee in 36g of liquid espresso out in 25-32 seconds
I keep a small Acaia Pearl scale under my cup, but honestly, any 0.1g scale works fine when you're starting out. Don't let gear envy slow you down.
Step 3: Start Coarse, Work Finer (The Golden Rule)
This is where most people crash and burn, they start way too fine and choke the machine, then panic-twist the grinder and lose all their progress.
Start two clicks coarser than you think you need.
Here are my real-world starting points:
- Breville Smart Grinder Pro: Setting 12 for fresh beans (within 14 days of roast)
- , the Encore is at its absolute limit for espresso, it works, but you'll fight it daily)
- .5-2.0 rotations from zero
Step 4: Adjust One Variable at a Time
This is the part everyone screws up. Resist the urge to "fix everything" between shots.
Decision matrix:
- Shot pulled in 18 seconds, hit 36g fast? Grind ONE notch finer
- Shot pulled in 45 seconds, only yielded 22g? Grind ONE notch coarser
- Shot pulled in 28 seconds, hit 36g, tastes balanced? Congratulations, you nailed it. Write it down.
Step 5: Keep a Coffee Journal (Yes, Really)
I keep a notebook. A real, paper notebook. Sounds nerdy. It's saved me hundreds of hours.
What I log for every bean:
- Bean name & roaster
- Roast date
- Grind setting
- Dose (g)
- Yield (g)
- Total shot time (seconds)
- Taste note (one sentence)
- Ambient humidity (if I remember)
Pro-Level Tips: The Stuff That Took Me Years to Learn
The 14-Day Sweet Spot
Fresh-roasted beans (3-14 days off roast) are the gold zone. Younger than 3 days? They're still degassing and your shots will gush and fizz unpredictably. Older than 21 days? They've lost their soul, you'll need to grind progressively finer week after week to keep up.
The Humidity Hack
On humid days, beans absorb moisture and behave like they've gone slightly stale. Grind one notch finer when your hygrometer climbs above 65%. Trust me on this one.
The Taste-Over-Time Truth
A shot that hits 36g in 27 seconds but tastes sour? Grind finer anyway. A shot that nails 32 seconds but tastes bitter? Grind coarser. Numbers are guides. Your tongue is the boss.
Watch a Pro Troubleshoot Real Shots
Nothing beats watching an expert diagnose what's going wrong with a shot in real time. This video is gold for understanding the why behind the adjustments:
Quick Troubleshooting Cheat Sheet
| The Symptom | The Likely Cause | The Fix |
|---|---|---|
| Shot gushes, blonde quickly | Grind too coarse | Finer by 1 notch |
| Shot drips, takes 50+ seconds | Grind too fine OR over-tamped | Coarser by 1 notch |
| Sour, sharp taste | Under-extracted | Finer grind, longer time |
| Bitter, ashy taste | Over-extracted | Coarser grind, shorter time |
| Channeling (squirts sideways) | Uneven distribution | WDT tool + better tamp |
| Inconsistent shots | Stale beans OR humidity shift | Check roast date, adjust grind |
The Final Word: Patience Beats Perfection
Here's what I wish someone had told me on day one:
> You will dump shots. A lot of them. That's not failure, that's tuition.
Every great home barista has poured hundreds of mediocre shots down the drain on their way to the great ones. The grinder is a precision instrument, and learning its language takes weeks, not minutes.
Start with the framework above. Trust the process. Keep the journal. And in two weeks, you'll be pulling shots that genuinely rival the $7 cup at your local third-wave café, except you'll be in your pajamas, and it'll cost you about 70 cents.
Now go pull a shot. Time it. Adjust. Repeat.
That's the entire secret.
Got questions? Stuck on a specific grinder? Drop a comment below, I read every single one and I love nerding out about this stuff.
Related Reviews
- What Is the Best Grind Size for Espresso? A Complete Coffee Grinding Guide
- How to Clean and Descale Your Espresso Machine: Complete Maintenance Guide
- How to Make Cafe-Quality Espresso at Home: A Step-by-Step Guide
- How to Steam and Froth Milk Like a Barista at Home
- Beginner's Guide to Latte Art: How to Pour Hearts, Rosettas, and Tulips
Key Takeaways
- Choosing the right how to dial in espresso grinder means matching the key features to your specific needs and budget
- Read real customer reviews and check the return policy before you commit
- Also covers: grinder calibration
- Also covers: espresso grind size
- Also covers: adjusting burr grinder
- Compare value across models — the priciest option is not always the best fit