
Top Picks


The Honest Truth Most Tutorials Won't Tell You
If you want to know how to make latte art at home, the short answer is this:
> You need three things working in harmony: properly textured microfoam (not stiff foam), a freshly-pulled espresso shot with a thick crema layer, and a steady pouring hand that starts high and finishes whisper-close to the surface.
That's the whole game. Everything else, from machine choice to pitcher angle, is just refinement on those three pillars.
I've been pouring latte art every single morning for the better part of six years now, and I still remember how soul-crushing those first three weeks felt. My "hearts" looked like albino jellyfish. My rosettas were single white streaks that drifted lazily off-center like they'd given up on life. This guide is the one I wish someone had handed me back then.
Quick Stats: The Latte Art Reality Check
| The Numbers | What It Means |
|---|---|
| 3 weeks | Average time to pour a recognizable heart |
| 150 F | The magic milk temperature ceiling |
| 4 inches | Starting pour height from the cup |
| 60% | How full your cup should be before the "drop" |
The Real Problem with Beginner Latte Art (It's Not What You Think)
Most beginners blame their pour. After teaching dozens of friends in my kitchen over the years, I can tell you with confidence: the pour is almost never the issue. It's the milk texture.
When I started, I was steaming milk until it sounded like a 747 taking off and the pitcher was too hot to touch. That's stiff, dry, dead foam. It floats on top of the espresso like styrofoam on a pond, refusing to integrate, which is exactly why your designs look like white islands marooned on brown water.
Microfoam, by contrast, looks like wet paint.

It has a glossy mirror-like sheen, no visible bubbles, and pours with the silky weight of warm honey. If you can't see your reflection in the surface of the milk after steaming, you're not there yet. Keep going.
> Pro Tip from Marcus: Before you ever attempt your first design, practice steaming milk alone for a week. No espresso, no pouring, just texture. This single habit shortcuts months of frustration.
Watch It Done: The Microfoam Technique in Action
Reading about milk steaming is one thing. Seeing the whirlpool, hearing the hiss, watching the texture transform in real time? That's where it clicks. Take five minutes to absorb this:
Quick Picks: The Gear That Actually Moves the Needle
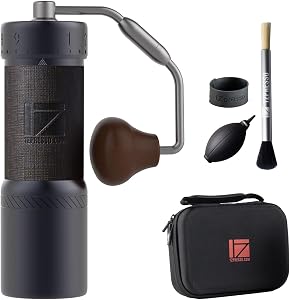
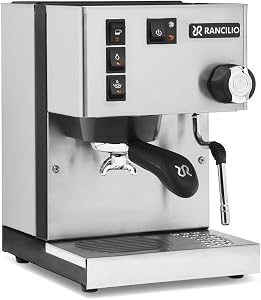
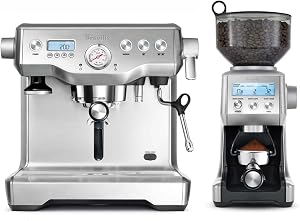
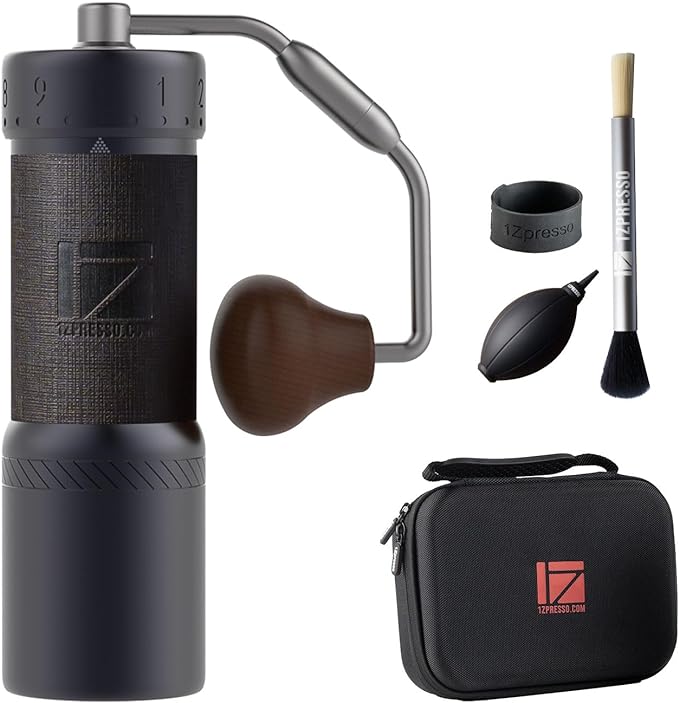
Not every machine is built for art. You need a steam wand with enough pressure to texture milk properly, plus a grinder consistent enough to deliver crema-rich espresso. Here's what I recommend without hesitation:
| Tool | Best For | Price | Link |
|---|---|---|---|
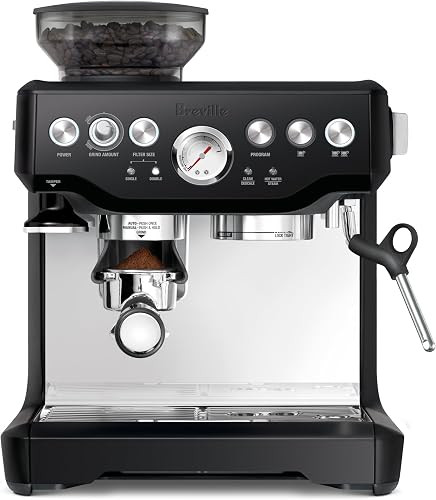
| Breville Barista Express | Best all-in-one for beginners | $749.95 | Check Price on Amazon |
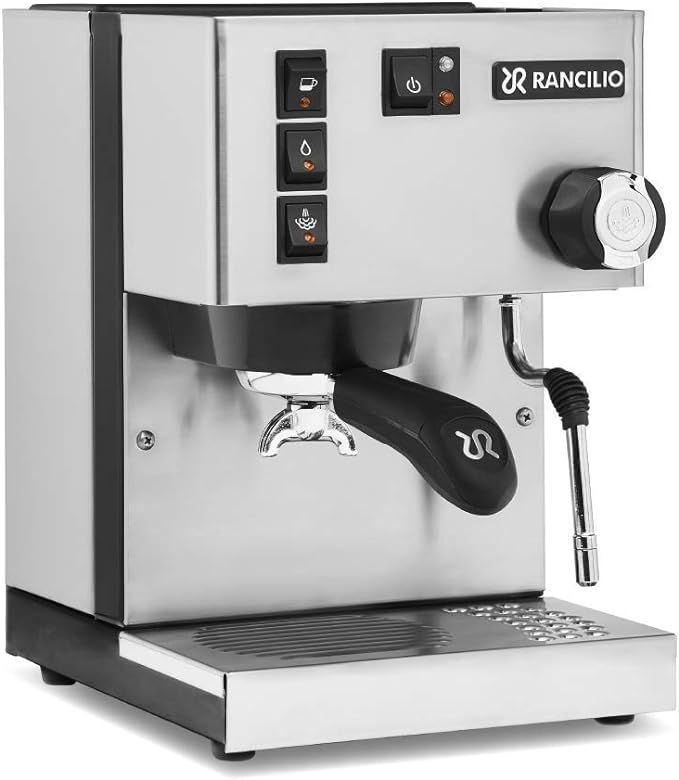
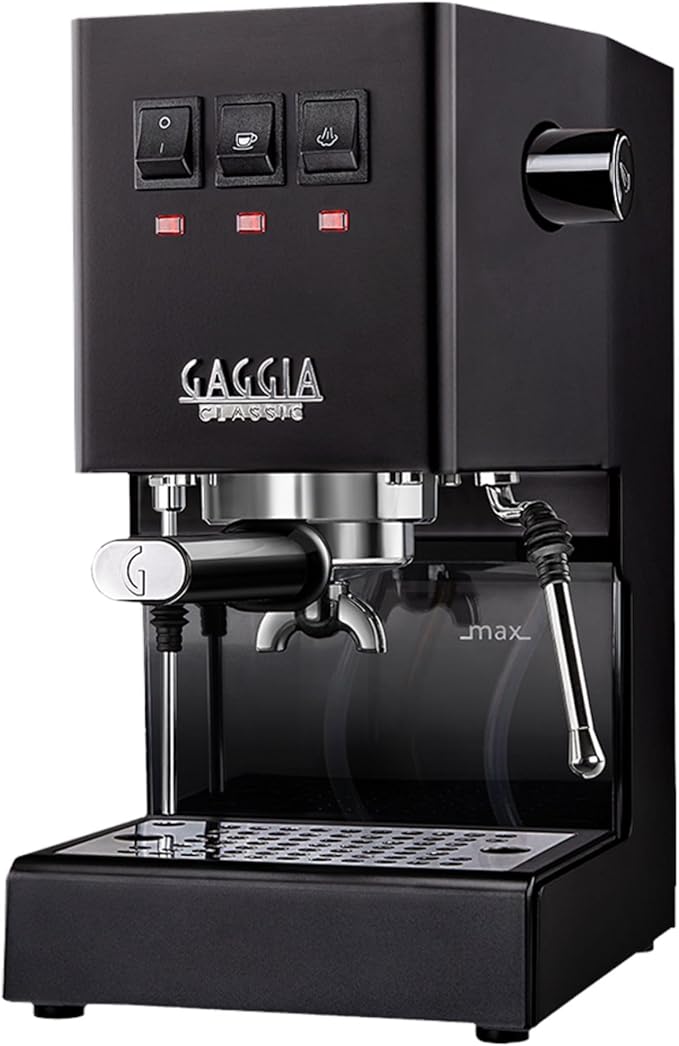
| Gaggia Classic Pro | Best steam wand under $500 | $449.00 | Check Price on Amazon |
| .95 | Check Price on Amazon |
> Insider Note: The Gaggia Classic Pro has a commercial-style steam wand that punches way above its price class. If you're serious about latte art on a budget, this is the move.
Step-by-Step: How to Pour a Heart, Rosetta, and Tulip
Let's get into the actual technique. I'll assume you have espresso pulled and 6 oz of cold whole milk in a 12 oz pitcher. Cold milk gives you more runway to develop texture before it overheats.

Step 1: Steam Your Milk to Glossy Microfoam
- Purge the steam wand for 2 seconds to clear condensation.
- Submerge the tip just below the milk surface and turn on full steam.
- Listen for a soft kissing hiss (the "stretching" phase) for about 3 to 5 seconds. This is where you add air.
- Lower the pitcher so the tip sits deeper, creating a tight whirlpool. The hissing should stop. This is the "texturing" phase, where you polish those bubbles into silk.
- Stop at 140 to 150 F, when the pitcher base is just barely too hot to hold comfortably. Use a thermometer clipped to the side for your first month. After that, your palm becomes the gauge.
- Tap the pitcher hard on the counter twice to pop any stray bubbles.
- Swirl aggressively until the milk shines like glossy paint.
Step 2: Prep the Canvas
Your espresso shot needs a fresh, intact crema. If it sat for more than 30 seconds, the crema starts breaking down and your art will sink. Swirl the cup gently to integrate any tiger striping into one smooth caramel surface.
Step 3: The Pour Itself (Where the Magic Happens)
- Start pouring from about 4 inches above the cup. This high pour pushes milk under the crema instead of disturbing the surface. You'll see no white yet, and that's perfect.
- Fill to about 60% full while keeping the spout high. A small "well" of dark espresso should form in the center.
- Now drop the pitcher down close to the surface, maybe half an inch above the cup. Suddenly, the white milk blooms through the crema like a flower opening.
Pouring Each Design
THE HEART (Your First Win)
Keep the pitcher in one spot. Let a white circle grow to about an inch across. Then slowly raise the pitcher and cut a thin line straight through the center toward the far side of the cup. The circle pinches into a perfect heart. Simple. Iconic. Instagram-ready.
THE ROSETTA (The Showstopper)
Once your white base appears, start wiggling the pitcher gently side to side while slowly moving backward across the cup. Each wiggle creates a "leaf" of the rosetta. As you reach the far edge, stop wiggling, raise the pitcher slightly, and cut straight back through the center to draw the stem.
THE TULIP (The Underrated Beauty)
Pour a small white dot, pause, then push another dot into the first so it pushes forward. Pause. Push another. Repeat 3 to 4 times, then finish with a cut-through stem like a heart. The layered petals are stunning and forgiving for beginners.
See All Three Designs Poured Live
Nothing beats watching a skilled barista demonstrate the rhythm, height, and wiggle in real time. This is the video I send to every friend who asks me how to start:
Key Takeaways: Burn These Into Memory
- Microfoam is everything. Glossy, reflective, paint-like. If it's not shiny, start over.
- Cold milk + cold pitcher = more time to develop texture before overheating.
- Start high, finish low. The 4-inch start protects your crema canvas.
- Speed up to slow down. Faster pour = more milk pushing through, which actually gives you more control.
- Practice with water + dish soap in your pitcher to simulate texture without wasting milk.
- Film yourself. You'll spot mistakes your eyes miss in real time.
The Mindset Shift That Changes Everything
Here's the truth nobody told me: latte art isn't a skill you acquire. It's a relationship you develop with your machine, your milk, and your morning.
The first time you pour a clean rosetta, you'll feel it before you see it. The wiggle finds its rhythm. The milk responds. The cup fills like a slow exhale. And then, suddenly, there it is: a tiny edible miracle sitting on top of your cup, made by your own hands.
That moment is worth every wobbly heart and lopsided leaf along the way.
Now go waste some milk. It's the only way.
Related Reviews
- How to Make Cafe-Quality Espresso at Home: A Step-by-Step Guide
- What Is the Best Grind Size for Espresso? A Complete Coffee Grinding Guide
- How to Clean and Descale Your Espresso Machine: Complete Maintenance Guide
- How to Steam and Froth Milk Like a Barista at Home
- How to Dial In Your Espresso Grinder for Perfect Shots Every Time
Key Takeaways
- Choosing the right how to make latte art at home means matching the key features to your specific needs and budget
- Read real customer reviews and check the return policy before you commit
- Also covers: beginner latte art
- Also covers: pouring rosetta
- Also covers: latte art techniques
- Compare value across models — the priciest option is not always the best fit